

Materials needed:
4 different pieces of scrap fabric (one is black)
iron on fusible
two buttons, color of main face fabric (for the eyes)
coordinating thread and sewing machine
Cat Applique Pattern (click on "My Additions" to the right).
Time: About an hour
Directions:
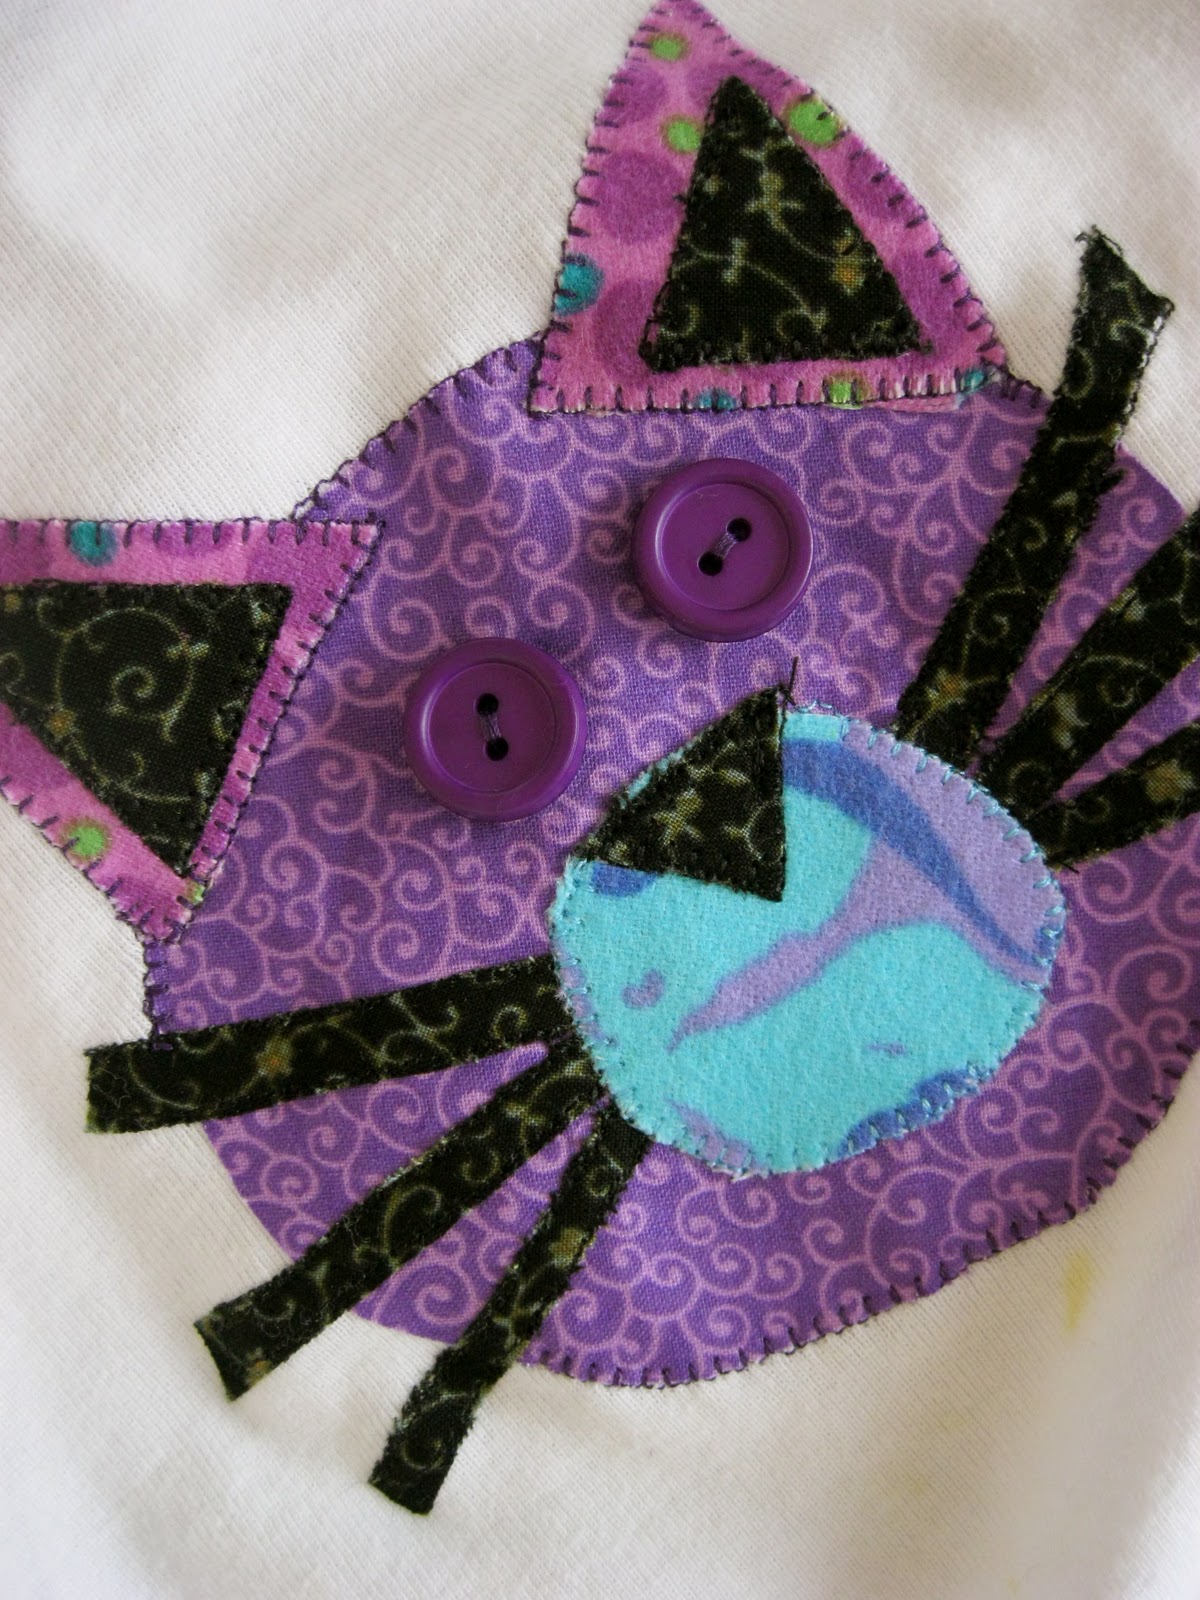
1. Trace the cat face shapes onto the iron on fusible.
2. Iron on the shapes to the fabric. (I like to do it this way so I can cut out the already traced iron-on pieces).
3. Place main face fabric on shirt first, iron, then use your machine blanket stitch to stitch in place. (Use a tear-away if you need to). I didn't need it, but it will depend on the fabric you are ironing the cat face to.
4. Place on ear pieces and iron in place.
5. Place whiskers, then mouth piece over the whiskers. Place nose over the mouth piece and iron all pieces in place.
6. Blanket stitch around ears, mouth, and nose piece. Use a straight stitch close to the edges of the whiskers.
7. Sew on the buttons, being sure to secure properly.
I like to use flannel, so I used flannel for the mouth piece and large ear pieces.
Send me your pics of your cat faces!

No comments:
Post a Comment